
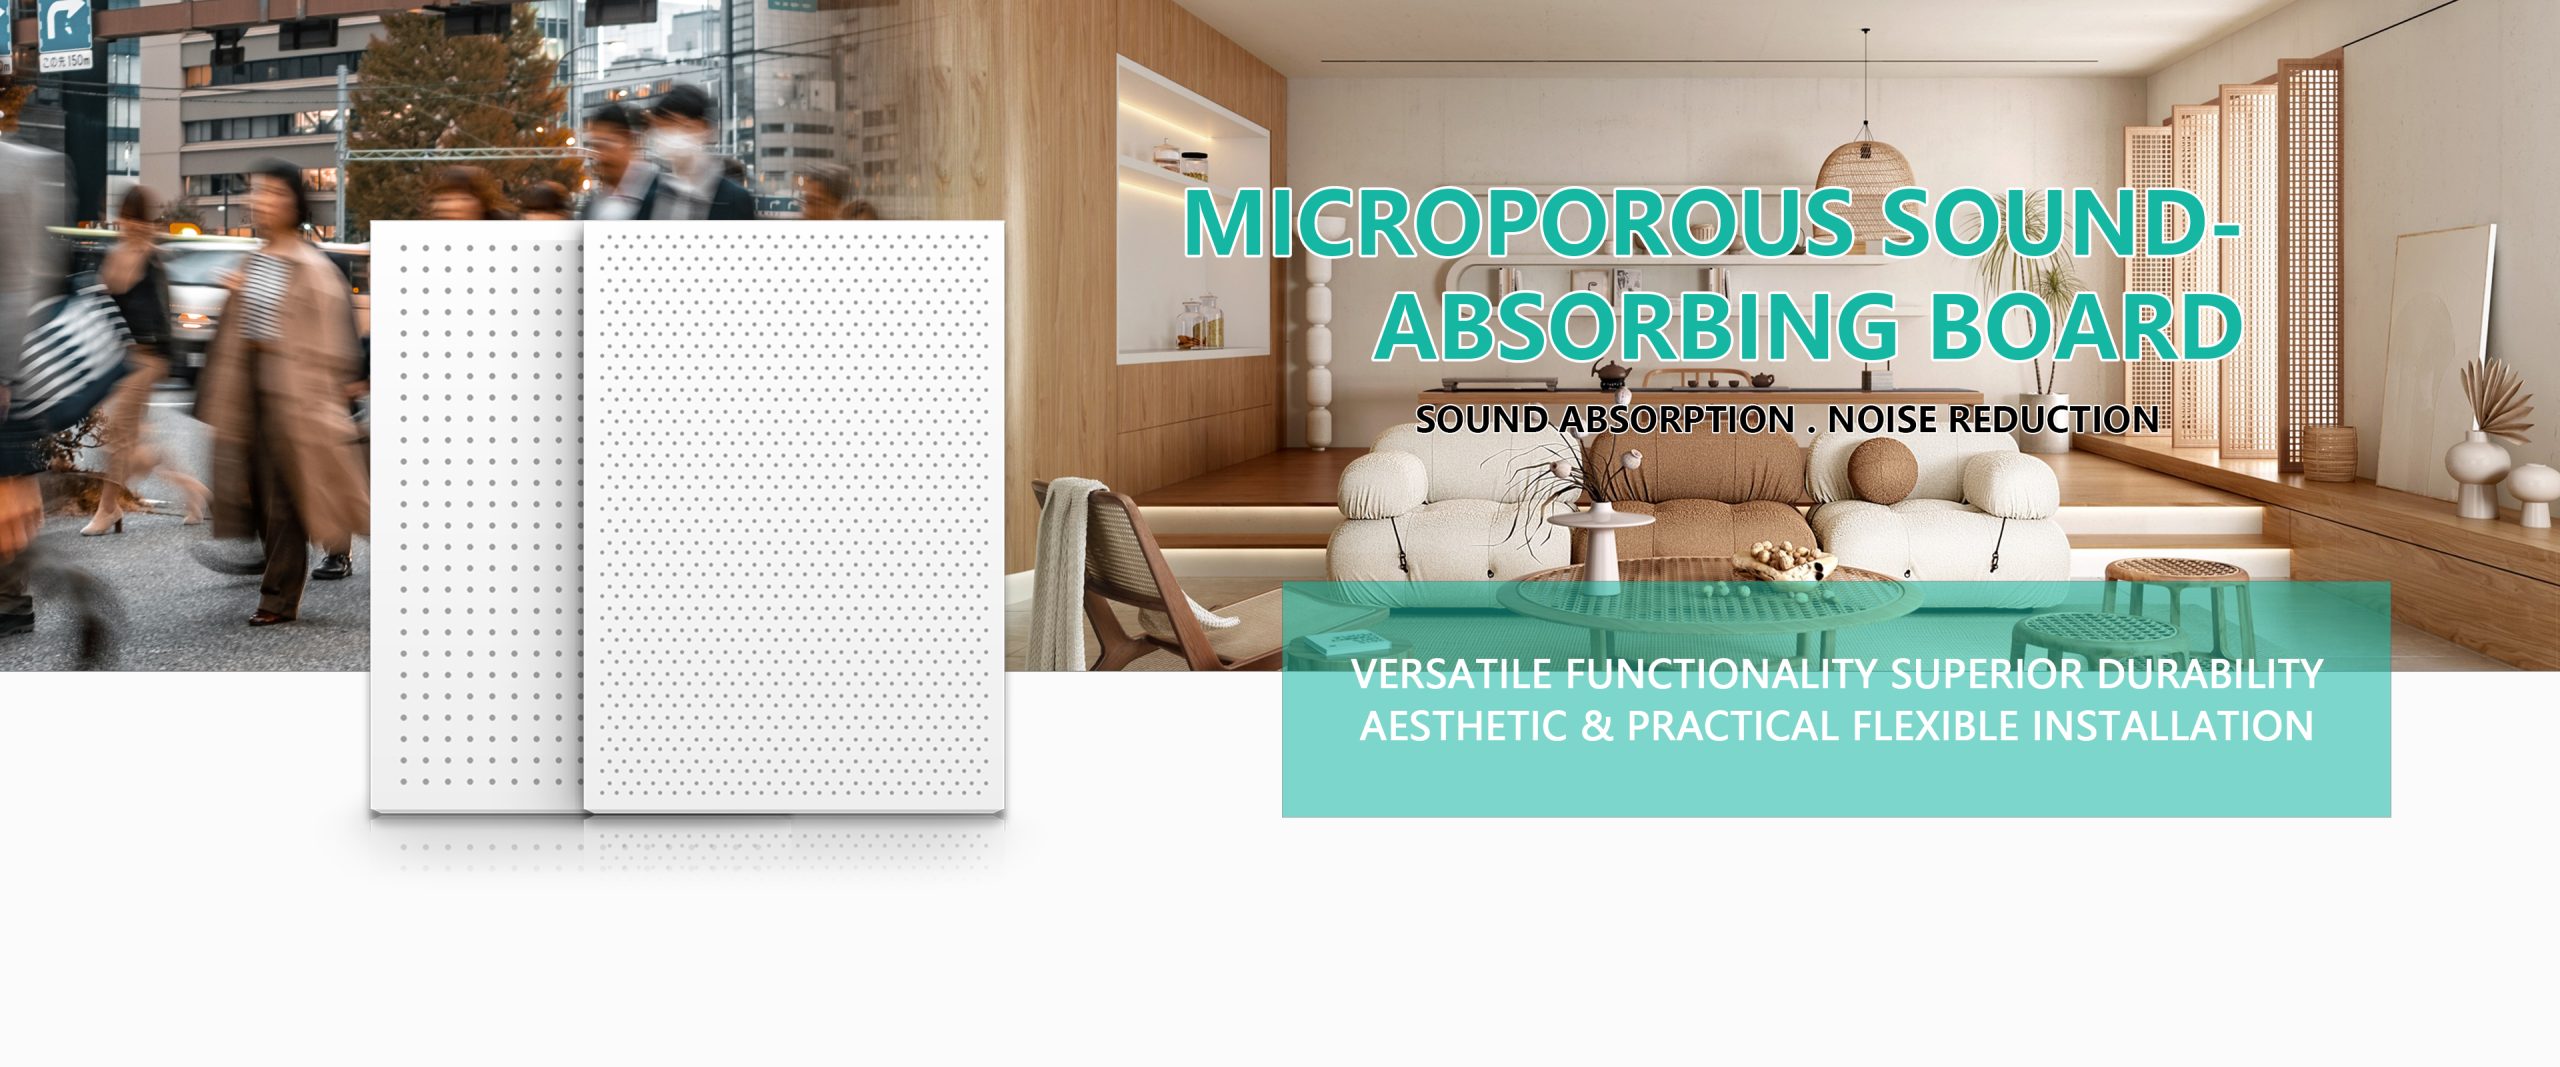
Core function
Dual Sound Absorption and Insulation Performance
Sound Absorption: The micro-perforations on the front aluminum panel absorb mid-to-high frequency sound waves (e.g., human voices, equipment noise), reducing echoes within the space.
Sound Insulation: The internal soundproofing cotton blocks low-frequency sound waves (e.g., machinery vibration, traffic noise), reducing sound transmission.
The micro-perforations on the aluminum panel guide sound waves into the soundproof cotton layer, and the combination of the two achieves more comprehensive noise reduction. The front panel features micro-perforations of 0.5–3mm, while the back panel has larger perforations of 8–12mm.
Product parameters
- Product Name: Micro-Perforated Acoustic Panel
- Material Composition: Integrated panel composed of perforated aluminum acoustic panel bonded with glass wool or rock wool acoustic insulation cotton.
- Customization: Customization available upon request.
- Customization: Available upon request.
- Applications: Airports, shopping malls, gymnasiums, restaurants, conference rooms, cinemas.
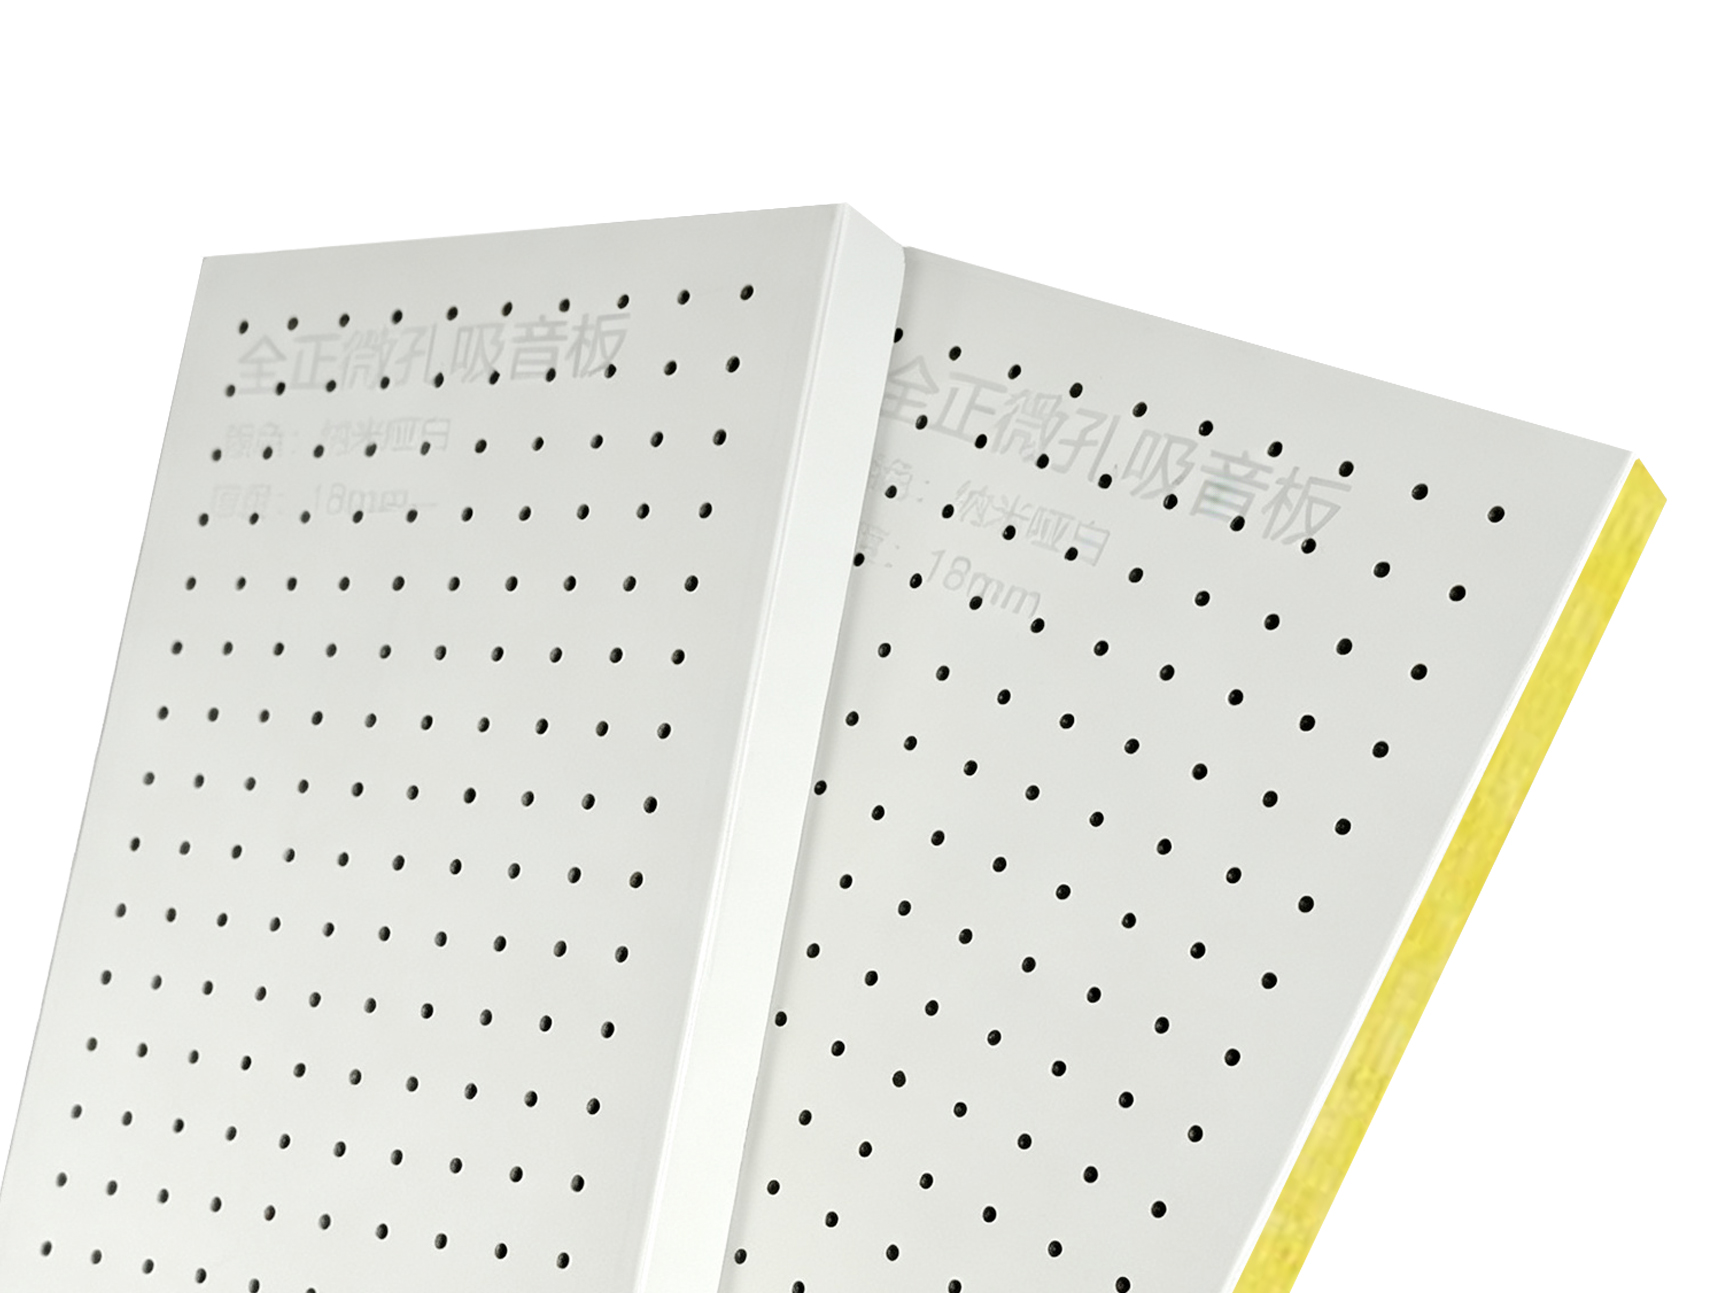
Front Layer: Perforated aluminum panel made of lightweight aluminum alloy, with evenly punched micro-perforations on the surface.
Function: Serves as a decorative surface layer with sound-absorbing properties. The micro-perforations allow sound waves to penetrate into the internal structure, while the metal material provides wear resistance, fire resistance, and moisture resistance.
Middle Layer: High-density soundproof cotton (such as glass wool, rock wool, polyester fiber cotton, etc.).
Function: Absorbs sound wave energy through its porous fiber structure, converting sound energy into thermal energy, blocking sound transmission, and reducing noise transfer.
Characteristics: Lightweight, eco-friendly, and flame-retardant. Thickness and density can be adjusted according to requirements to optimize sound insulation performance.
Middle Layer: High-density soundproof cotton (such as glass wool, rock wool, polyester fiber cotton, etc.).
Function: Absorbs sound wave energy through its porous fiber structure, converting sound energy into thermal energy, blocking sound transmission, and reducing noise transfer.
Characteristics: Lightweight, eco-friendly, and flame-retardant. Thickness and density can be adjusted according to requirements to optimize sound insulation performance.
Installation Diagram
Back-Mounted Dry-Hung Installation (Preferred for high-end public buildings and large-area wall applications)
- Applicable Scenarios: Walls in conference rooms, theaters, exhibition halls, and other large-area spaces with high flatness requirements, compatible with aluminum micro-perforated acoustic panels.
- Core Advantages: No visible nail holes, high aesthetic appeal, stable structure, and accessible for future maintenance.
- Substrate Treatment: Clean the wall surface, mark positioning lines, install galvanized square steel tubes / light-gauge steel keel framework, and calibrate verticality and flatness.
- Fixing Strip Installation: Install dedicated aluminum alloy fixing strips onto the framework according to the layout plan, and apply a touch-up coat of anti-rust paint.
- Panel Back-Mounting: Fix the dry-hanging clips to the back of the acoustic panel with rivets, and connect them to the fixing strips using dedicated flat connectors.
- Leveling and Edge Finishing: Adjust the flatness of each panel piece by piece to ensure even joint gaps, and use aluminum profiles for internal and external corner trims as well as base edge finishing.


Wall Installation Detail Drawing

Wall Installation Schematic Diagram
Wall Mount Installation Demo


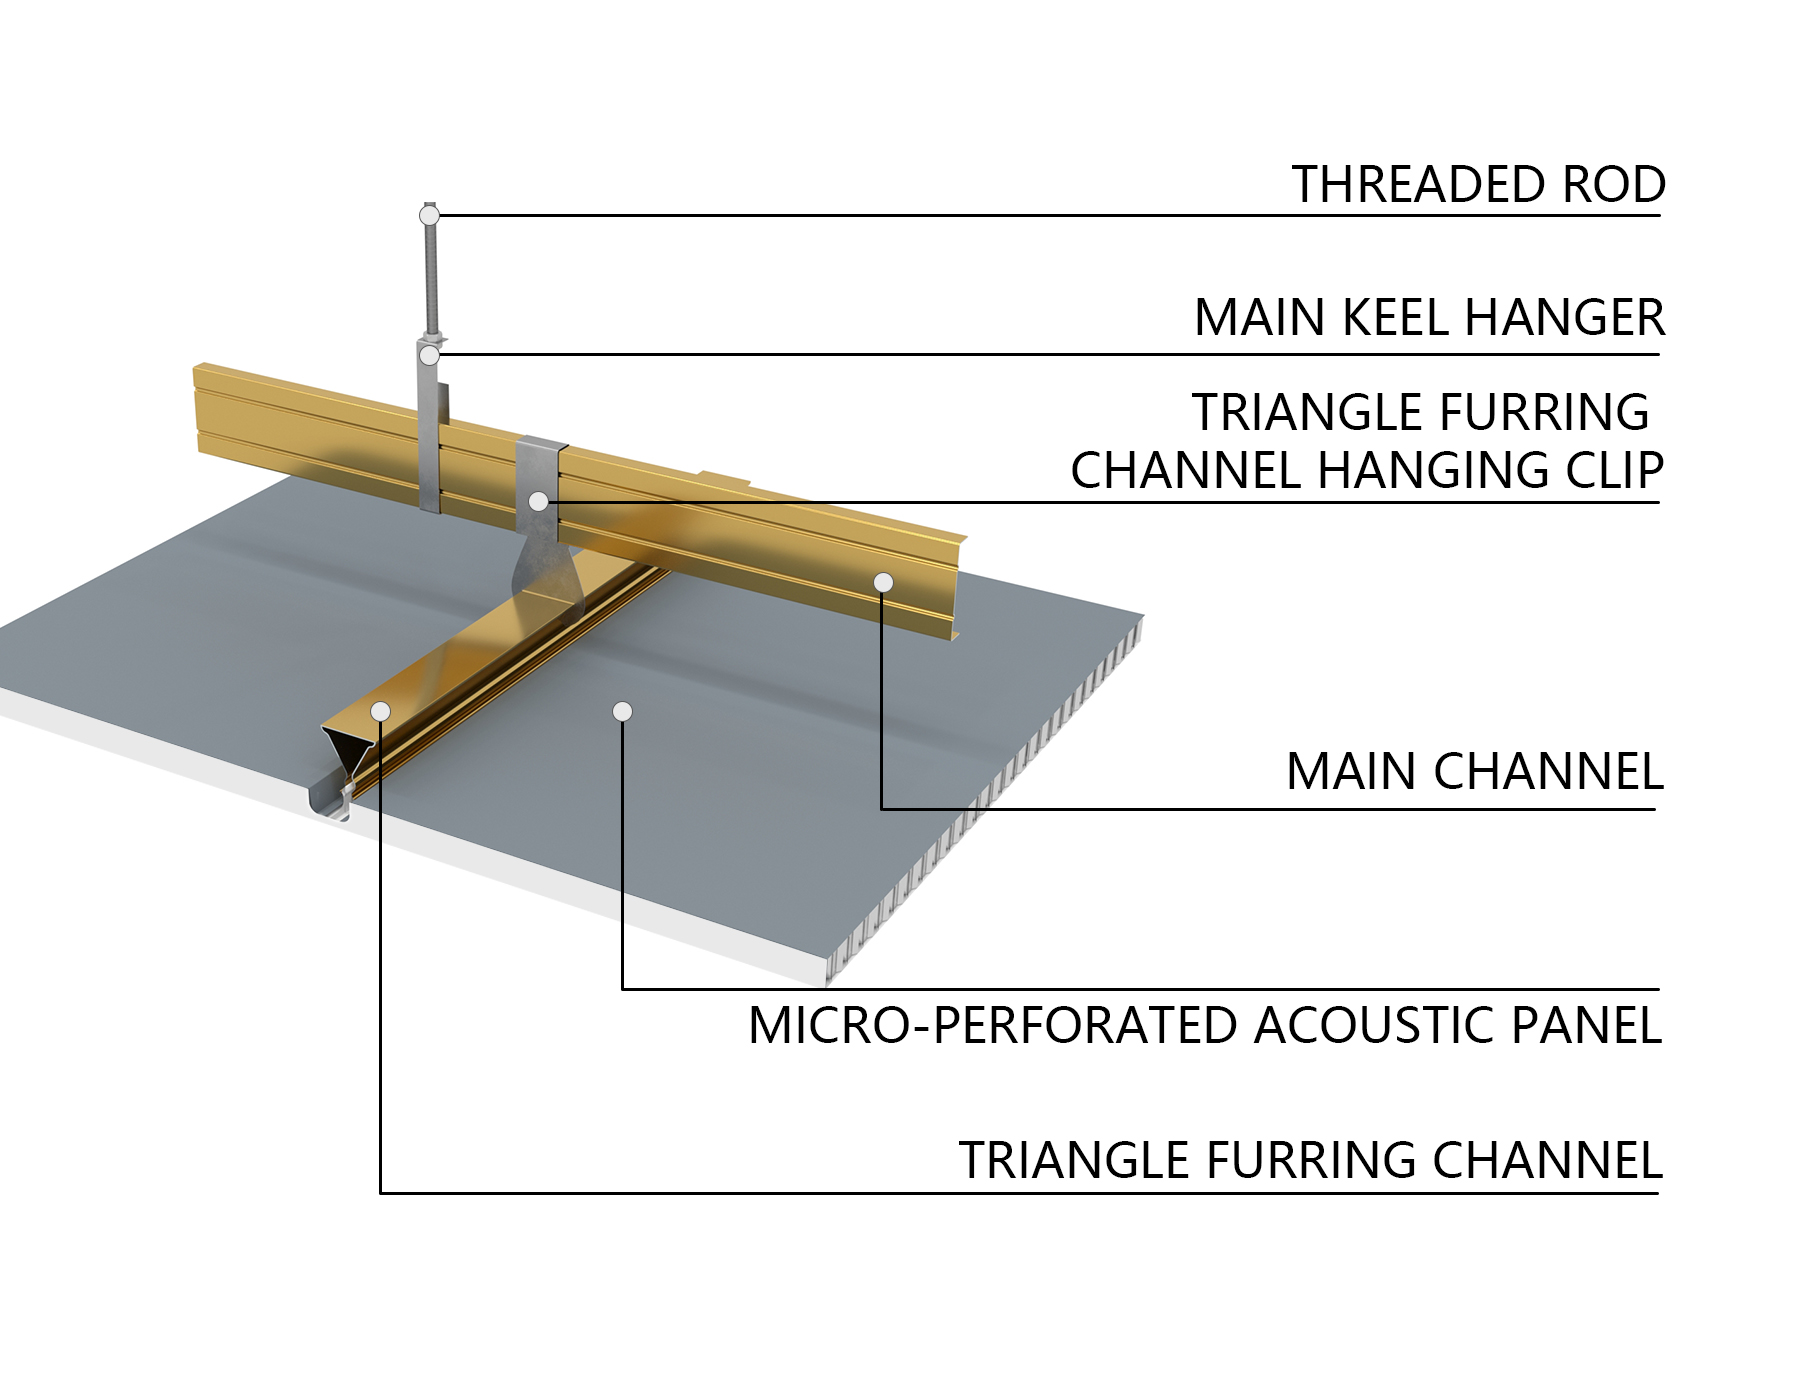
Clip-in Keel Installation (Suitable for both ceiling and wall applications in commercial projects)
- Applicable Scenarios: Standardized walls in offices, shopping malls, and similar spaces requiring rapid installation.
- Core Advantages: Easy installation, tight joint connections, and quick disassembly.
- Marking and Positioning: Snap layout lines on the wall for keel installation, with spacing matching the panel dimensions.
- Keel Fixing: Secure the dedicated keels to the wall using expansion bolts, and adjust for levelness and straightness.
- Panel Installation: Install panels sequentially in a single direction by first pressing one side of the panel into the keel clips, then snapping the other side into place to ensure a firm fit.
- Edge Trimming: Seal the edges with dedicated edge trim strips to cover gaps and enhance the overall appearance.


Ceiling Installation Detail Drawing

Ceiling Installation Detail Drawing
Scope of application

Airport

Shopping Mall

Gymnasium

Restaurant
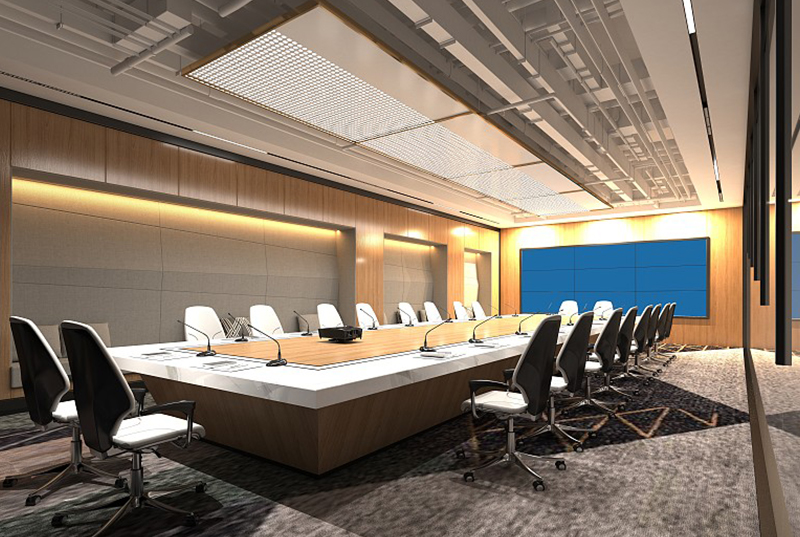
Conference Room

Cinema